Showing posts with label Candy. Show all posts
Friday, February 11, 2011
Get Your Craft On Valentine Style
Ever couple of months I get together with some girls from my mother's group to do a craft. I get allot of ideas from other blogs and youtube. I always knew there were allot of creative people out there, but I never realized how many of them were sharing their ideas complete with directions!
The scalloped box was made with my Cuttlebug and my new found favorite dies, Spellbinder Nestabilities. The Spellbinder dies come in many different shapes, every shape comes with about six different sizes in the package. Plus you can use a coupon in the craft store to buy, everyone loves a bargain! Okay back to the project, I got the directions and measurements for all the paper cuts from Chic-N-Scratch and just put my spin on it for Valentines Day. The decoration for the boxes were made with some punches I had at home and some dollar stamps from the craft store.
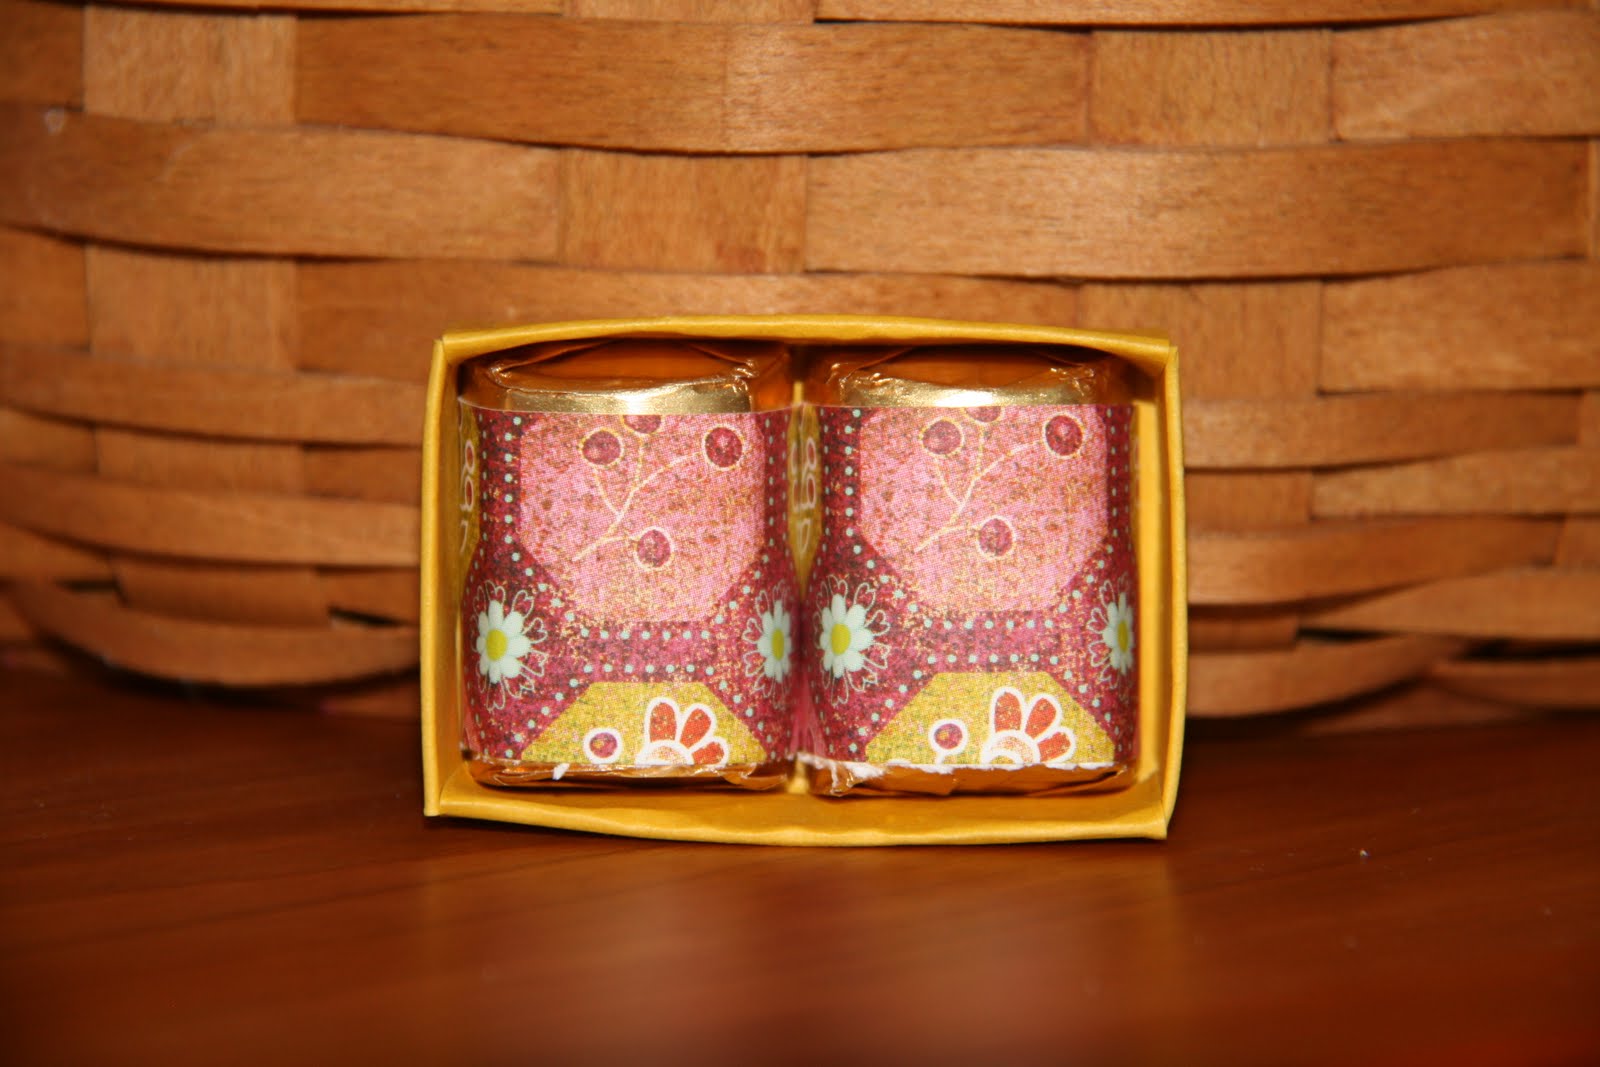
The nugget box is similar to the ones I had done on a previous post, but instead of the two nugget box I made a four nugget box. The nugget box seemed to be allot of work for just two pieces of chocolate, I need more bang for my time.
Monday, January 10, 2011
Nugget Boxes
I was never much of a YouTube watcher until I discovered craft videos, who knew there was that much excitement out there. Okay, so they may not be that exciting but there is allot of talented people out there with some really clever ideas. Now the nugget box was one I had seen years ago so after a search of YouTube for a nugget box I came across Fabulously Artsy, she is funny and gives clear directions. In the video she makes she makes a large boxes holding more nuggets than I had intended, so I used the templates from Split Coast Stampers.
At the end of the month I am getting together with some girlfriends to make these as valentines gifts for the kids to give out to their friends. These were practice boxes so I am ready when the gals arrive.
On a completely separate note, I want to give Pam a shout-out for helping me with the links. In case you didn't notice this one had two links. Cheers!
Tuesday, November 23, 2010
Peanut Brittle
Well since I invested in that candy thermometer I feel the need to use it, so this recipe caught my eye in Family Fun magazine.
Peanut brittle has long been one of my favorite candies, I remember as a child loving Planters Peanut Bars.
Over the summer while on a long road trip we stopped at a rest stop and bought some snacks, Tim grabbed a peanut brittle. After we got in the car and blasted it open we discovered it stale and old, what a disappointment. That was the last brittle I had so I was hoping that what I was about to make wasn't going to be another let down.
I had all of the ingredients on hand except for the peanuts. I decided to splurge on the peanuts, I love Stew Leonard's peanuts and at $6.99 a can they are a splurge, but I am worth it. The peanuts were also salted, so I just omitted the salt from the recipe.
Ingredients
2 cups granulated sugar
1 cup light corn syrup
1/2 cup water
1/2 tsp. salt
3 cups peanuts
2 tbsp. butter
2 tsp. vanilla
2 tsp. baking soda
Instructions
Heat sugar, syrup, 1/2 cup water and salt to a rolling boil in a heavy saucepan. Add peanuts. Reduce heat to medium and cook, stirring constantly, until syrup spins a thread (265 degrees).
Remove from heat. Immediately add butter & vanilla, then baking soda. Beat rapidly and pour on a buttered surface spreading to 1/4 inch thickness. When cool break into pieces. Store in an airtight container. Makes about 2 lb.
Watch your teeth!
Sunday, October 17, 2010
Why all the hype?
I have seen on TV, in magazine and on other blogs homemade marshmallows. Everyone raves about them about how delicious they are and how they would never buy another marshmallow again. So I figured it was time I saw for myself what all the hype was about.
The ingredients were fairly basic, had all on hand at home. Equipment needed required a new purchase, a candy thermometer, which I guess is a good item to have. Once in a blue moon when I am going to deep fry something I guess that the oil is the right temperature, now I can actually tell.
I followed the directions to a "T", candy making seems somewhat scientific. The hard part was spreading it into a pan, I could not get it smoothed out at all. The oiled spatula was a sticky mess to say the least and I couldn't even get allot of the marshmallow out of the mixing bowl. I allowed them to sit for about 6 hours then I cut them up using the pizza wheel, that went smoothly. A little sticky getting all the sides of the marshmallows coated in the powdered sugar/cornstarch mixture.
The kids were pretty curious about my "concoction", when I told them they were marshmallows they both sampled. Dan gave a thumbs up, while Francis just kept coming back asking for more, I guess that kind of said it all. My take on them was they were good, but not something I would need to whip up on a regular basis. I am going to try them in hot chocolate and toasted over a fire, maybe done that way will sway me to be a homemade marshmallow lover, but for now I can live with store bought.
Ingredients
3 packages unflavored gelatin
1 cup ice cold water, divided
12 ounces granulated sugar, approximately 1 1/2 cups
1 cup light corn syrup
1/4 teaspoon kosher salt
1 teaspoon vanilla extract
1/4 cup confectioners' sugar
1/4 cup cornstarch
Nonstick spray
Directions
Place the gelatin into the bowl of a stand mixer along with 1/2 cup of the water. Have the whisk attachment standing by.
In a small saucepan combine the remaining 1/2 cup water, granulated sugar, corn syrup and salt. Place over medium high heat, cover and allow to cook for 3 to 4 minutes. Uncover, clip a candy thermometer onto the side of the pan and continue to cook until the mixture reaches 240 degrees F, approximately 7 to 8 minutes. Once the mixture reaches this temperature, immediately remove from the heat.
Turn the mixer on low speed and, while running, slowly pour the sugar syrup down the side of the bowl into the gelatin mixture. Once you have added all of the syrup, increase the speed to high. Continue to whip until the mixture becomes very thick and is lukewarm, approximately 12 to 15 minutes. Add the vanilla during the last minute of whipping. While the mixture is whipping prepare the pans as follows.
For regular marshmallows:
Combine the confectioners' sugar and cornstarch in a small bowl. Lightly spray a 13 by 9-inch metal baking pan with nonstick cooking spray. Add the sugar and cornstarch mixture and move around to completely coat the bottom and sides of the pan. Return the remaining mixture to the bowl for later use.
When ready, pour the mixture into the prepared pan, using a lightly oiled spatula for spreading evenly into the pan. Dust the top with enough of the remaining sugar and cornstarch mixture to lightly cover. Reserve the rest for later. Allow the marshmallows to sit uncovered for at least 4 hours and up to overnight.
Turn the marshmallows out onto a cutting board and cut into 1-inch squares using a pizza wheel dusted with the confectioners' sugar mixture. Once cut, lightly dust all sides of each marshmallow with the remaining mixture, using additional if necessary. Store in an airtight container for up to 3 weeks.
Subscribe to:
Posts (Atom)