Showing posts with label Cricut. Show all posts

Monday, December 12, 2011

Where does the time go?

It has been quite some time since I have posted anything here.  I have been very busy.  We took a family vacation.  I have finished 99% of my Christmas shopping.  I made lots of crafts for a craft fair I did, my very first one.


There were just one of the styles of notepad stands that I had made.  I thought they made cute teacher gifts


I love making these ornaments, paper and glitter, what else does a girl need?  These were very popular at the craft fair, they were my biggest seller.


These Santa Candy Bar covers I saw on another blog and just thought they were too cute not to make a batch.  Plus with the covers on them I didn't eat up all the candy bars, it deterred me ;)

I hope to post a few more times before the end of the year, and I plan on making my New Years resolution to post at least once a week.

Wednesday, October 19, 2011

Spooky

Francis, my youngest loves holidays, all holidays.  He has been asking for us to make the house spooky for Halloween, when other families out-spook us he gets bent out of shape.  He had seen some bat decorations in the craft store and decided he needed to have some spooky bats in his room.

I gave this a lot of thought, only because I had visions of him waking up at night and being scared to death of bats in his room.  I decided on a bat mobile, not the Batmobile.


I used my cricut to cut out bats of different sizes, and had to dig around up in the attic for an embroidery hoop to hang the bats from.  The biggest problem I had was getting the bats to hang right side up.  As you can see I didn't succeed but does it really matter when Francis LOVED IT!  Then he asked for one with ghosts, that's my boy.

Tuesday, October 18, 2011

It's been a banner few days.

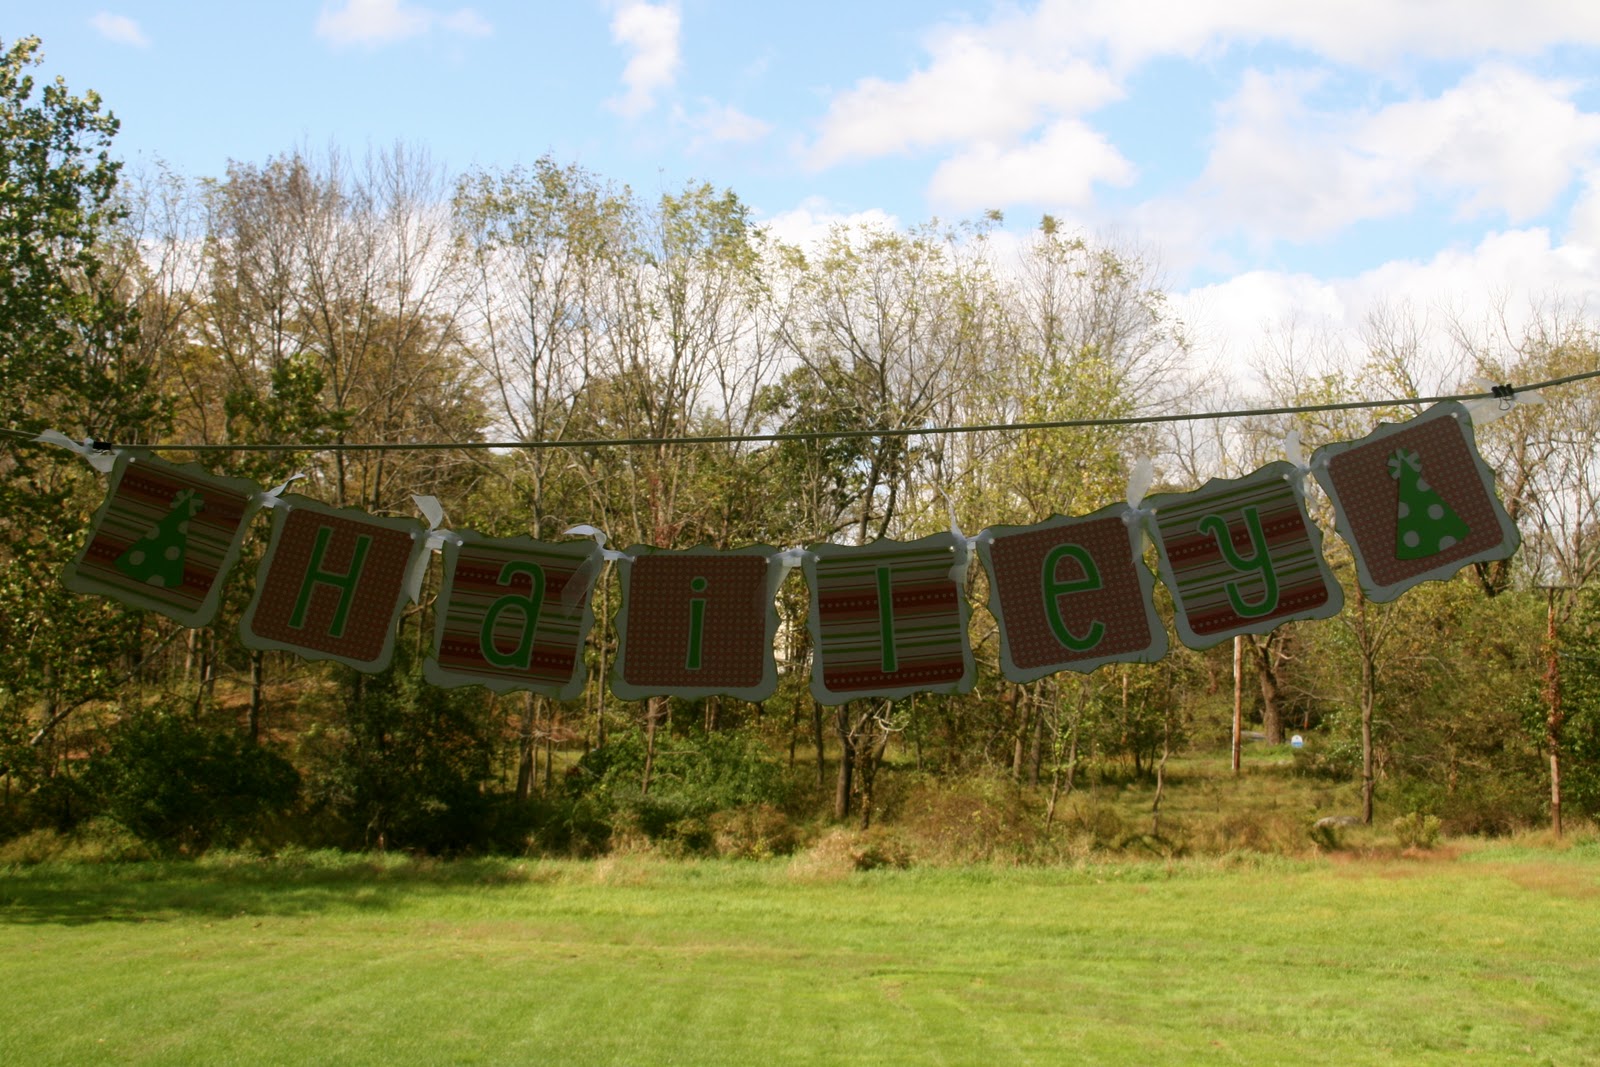
One thing I love to do is make pretty or fun or pretty fun things out of paper, that is how the whole banner thing started.  My first banner was for a baby shower and it has just grown from there.  Birthday's, holiday's and now most recently a business name banner for a craft fair.

This banner was made for a friend's business Shabby By Chic, she sews some really nice creations.  She is going to use the banner at craft fair before the holidays.  I know she is going to do great there, her stuff is so cute.


One of the other banners I just finished up was a banner for a Sweet 16.  This one was a little more of a challenge as they wanted pink and black with a Halloween theme.  With the help of a fellow crafty friend and her cricut cartridges I cut out some "girly skulls", spooky and fun. to jazz up the banner.


Last but not least was a banner for a first birthday party that I finished up a couple of weeks ago but never got around to posting some photos here.  Lots of times I use the cupcake die cut to accent the birthday banners, but I just love the party hat to I did a combination of the two.


Sunday, September 4, 2011

Disney Countdown

First off I want to say I know it has been a while.  I have been crafting but not blogging about my projects. With the kids starting school this week I should find more time to work on that.

I have been receiving personal requests for different projects.  Most recently I was asked by a fellow member of my mom's group to create some sort of countdown to Disney calendar.  I had never made one before, but I knew it was something I could do.  So without hesitation I took on the challenge and went full steam ahead.  With a little internet search and a browse on my new favorite website, Pinterest, I came up with some rough ideas.

It was only a matter of finding some quiet time to put ideas into reality.  With some fun paper, bright cardstock, ribbon and my cricut expression I was able to put together a cool countdown calendar that any child would look forward to ripping off the next number as there vacation got closer.


Monday, July 11, 2011

Crafting With Friends


This past Saturday myself and Donna put on another crop, we call ourselves "Creative Cuts".  Donna came up with the catchy name last year.  One of my biggest dilemmas when attending a crop is what to bring.  I never have gotten this down to a science, I always bring too much.  Some stuff I end up never opening the bag, you would think I would learn.

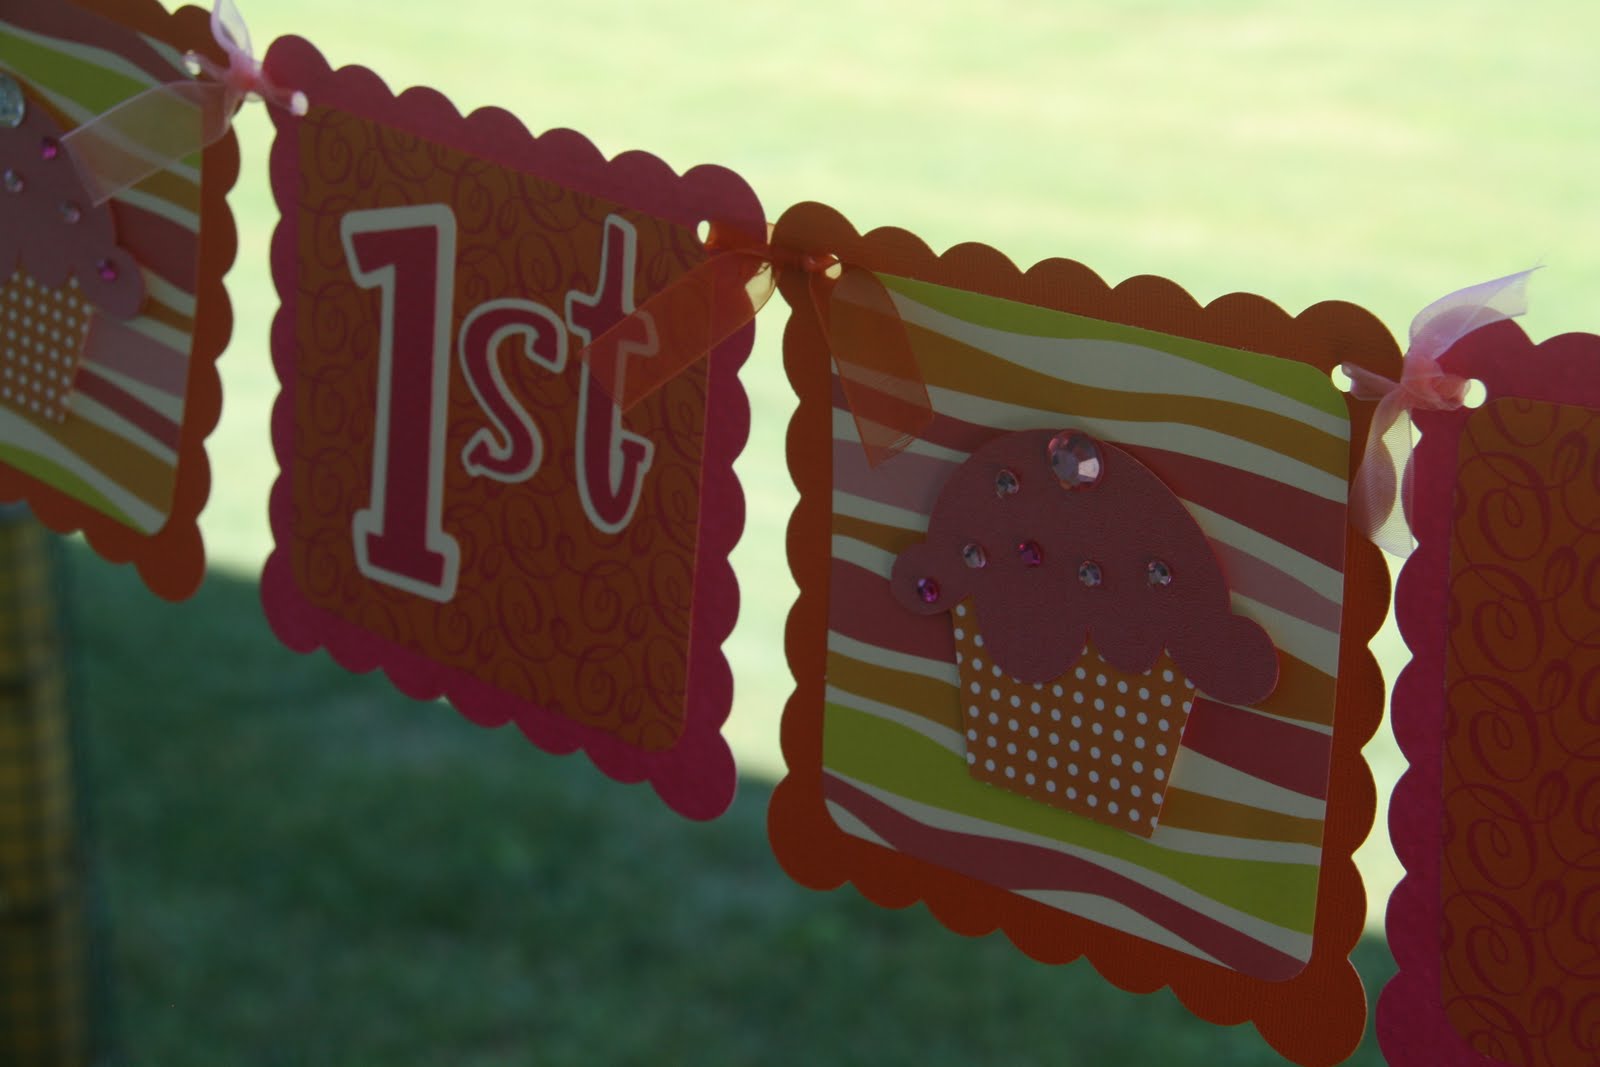
I aim to have a plan, this time around I knew I would be working on a banner for Donna's daughters first birthday.  She had picked out some great pink and orange paper she wanted to use.  Between the set up and just greeting everyone I don't think I actually sat down at my seat until 11:30, meanwhile I was there since 8:30 to get ready but that is a whole other story.

I asked Donna lots of questions about what her expectations were because well after all this was for a special occasion.  She wanted the borders to be scalloped, I love that too.  I had a little panic at first though because I couldn't find the scalloped square on the Cricut, shout-out to Heidi for locating it and making me feel better.  Phew.

Once everything was cut out, assembly began.  One of the final decisions was to bling or not to bling.  Bling it was and I am so happy with how it came out.


Saturday, May 21, 2011

Ticket to Disney World


I have been on the down low lately, not allot of baking or allot of new crafting.  My oldest son Daniel made his first holy communion and we had a big party, tent and all in the yard.  The preparing consumed allot of my time.

Now I am getting back in the swing of things, so when a friend asked me to put some of my craftiness to work I jumped in with both feet.  She had planned a trip to Disney World and wanted her kids to get a "ticket" from the bank teller when they cashed in their change jar for Disney World.  I thought what a cute idea, but I hadn't made one before and wanted to make sure it looked special.  I wanted it flashy enough that the kids would be excited to get it, but not overdone to where it had allot of embellishments.

I had thought about making an individual ticket for each member of their family, but she wanted to include the dates of travel and the cost: One Jar of Coins.  I had to make it big enough so that the information included was actually readable.

I used a circle border punch, and trimmed it down to give it the look of a tear off ticket.  I downloaded a free Disney font off the Internet, there were plenty out there.  Then I used my Cricut and Cuttlebug to make some die cuts.

I was real pleased with how it turned out... what do you think?


Thursday, April 14, 2011

Disney Autograph Albums


I have been making Disney autograph albums for sometime now.  It started with albums for my boys, then friend's children, then a little etsy shop.  The photos above are the original albums I created.  I have had people inquire about Minnie albums so I made some "prototypes", and just in general I wanted to come up with some new creations.

Here they are.


These are more Minnie's dress album, I am going to be working on one with Minnie's head with her bow.


There is a Mickey, Minnie, Donald, Daisy, Goofy, Pluto and Mickey glove page.


In between the character pages, each page is accented with a Mickey head cutout.


So far the Minnie and Mickey albums can be found in my shop at etsy.com.

Sunday, March 13, 2011

Most Recent Shadow Box


I had promised a few weeks ago to post my most recent shadow box for a friend.  I was real happy with the quality of this one.  First of all the quality of the shadow box was far superior to the other ones I had purchased at Michael's.  This one I got at TJ Maxx, the linen backing was tight and thick, and the box itself was well made.  The corners were fitted properly, the older version had spaces, all though small they still annoyed me.  This box could not be beaten for the price either, I actually bought whatever I could get my hands on that day and I have been browsing TJ Maxx for them again.


The paper itself was from Close To My Heart and it is called Mayberry.  For the bling I choose some light blue pearls I had picked up in Michael's.

Sunday, December 5, 2010

Get Your Craft On Card Night


Well is was craft night at the Keneally's with the mom's group. The plan was to make a total of 20 cards, 5 different cards, 4 of each and that is what we did. We had a feminine, masculine, girl, boy and a gift card holder.

I put allot of thought into the design of the cards, I wanted them to be creative but not over dressed.

The nice thing for the attendees is I have all of the pieces cut before they get here, it was a little time consuming for me, but those who know me know I love to craft and love to share craftin'.

Sunday, November 14, 2010

Disney Autograph Books


If you know me you know I LOVE DISNEY! We usually plan a family trip once a year to Walt Disney World, and I make each of the boys their own albums to get character signatures. They are easy to do.


I use the Cricut Disney Font cartridge and cut the Mickey heads at 4 inches. The cover is about four layers of cardstock glued together, as you can see I personalize each book for the boys with their first initial. On average I have the book about 20 pages, you could get 20-40 autographs in a book if you use both sides. The stitching on the books is just a white gel pen.


You can then take the pages out and incorporate them into your scrapbooking layouts.