Tuesday, September 27, 2011

The most wonderful time...


I love the fall.  My birthday is in the fall.  I got married in the fall.  We often vacation in the fall.  I love the warm days and cool nights, those days when you can sport shorts and a sweatshirt.  Ahhhh... the fall.

When I saw this next recipe I thought it screamed the fall.  I had all of the ingredients on hand, so I gave it a try.  The directions were real easy to follow.

The hardest part for me was pouring it from the dutch oven into the prepared pan.  I was using a wooden spoon to scrap the pot and some dripped off the spoon onto my hand and I saw stars.  I was able to immediately get the hand under cold running water but the damage was done, blistered immediately.  So if anyone is going to attempt these caramels for themselves be careful.

Slicing them up was a little challenging as well.  I followed the recipes suggestion to cut long "logs" and let whomever I share them with cut them themselves.

They are a tasty treat, and the hint of cider was just the right amount for me.

Apple Cider Caramels
from Blondies Cakes & Things
2 cup high-quality apple cider 
1 cup heavy cream or whipping cream, divided
1 tsp ground cinnamon
Pinch nutmeg
1/4 tsp allspice
1 1/2 cup sugar
1/3 cup light corn syrup
1/2 cup real butter, cubed

- Pour cider into a medium saucepan and boil on high for about 20 minutes or until the cider is reduced to 1/3 c. Keep an eye on it...it might try to run away. Set aside to cool.
- Line an 8" square pan with parchment paper, making sure to leave about 1" hanging over the edges for easy removal. Coat with a bit of vegetable oil and set aside. 
- In a small bowl, combine 2/3 c. cream, cinnamon, nutmeg, allspice, and reduced apple cider. Set aside.
- In a large, heavy saucepan, combine the sugar, 1/3 c. whipping cream + enough water to reach the 1/2 c. line on the measuring cup, and corn syrup. Cook over low heat until the sugar dissolves. Insert the candy thermometer and simmer until the syrup reaches 234 degrees.
- Remove from heat and slowly whisk in the cream mixture. Add the cubed butter and stir until the cream and butter are fully incorporated. Return the pan to heat and re-insert the candy thermometer. Cook over low heat, stirring frequently, until the temperature reaches 248 degrees.
- Remove from heat and pour the caramel into the prepared pan. Let the mixture cool completely at room temperature or in the refrigerator. I covered the top with saran wrap and left it out overnight. You could cut the caramels into 1/2" squares and wrap each caramel in wax paper, but I'm lazy so I cut the caramel into 1/2" logs, which meant that I had exponentially fewer pieces to individually wrap. Store in an airtight container or in the refrigerator for up to 2 weeks.


Warning:  This can cause a serious burn if it comes in contact with skin, and can be damaging to your waistline.

Friday, September 23, 2011

Just Sinful

Once again I have a bunch of mushy bananas laying on my counter.  Bananas in this house sometimes get eaten within hours of coming home, sometimes they just sit and get mushy calling my name to bake with them.

I wanted to do something a little different this time around.  I have added chocolate chips.  I have added nuts.  I have added coconut.  I have never added NUTELLA.  Imagine finding a recipe out there that contains something as sinful as Nutella, just dangerous.

This recipe produced a delicious, moist banana bread.  I made one full sized loaf and a bunch of mini loaves to share, as I am trying not to over indulge myself.  Plus who doesn't love a fresh baked gift?


Nutella Banana Bread
  • 1/2 cup butter
  • 1 1/2 cups white sugar
  • 2 eggs
  • 3 very ripe bananas, mashed
  • 1 cup sour cream
  • 1 teaspoon vanilla extract
  • 1 teaspoon ground cinnamon
  • 1/4 teaspoon salt
  • 3 teaspoons baking soda
  • 2 1/4 cups all-purpose flour
  • 4 tablespoons nutella
1. Preheat oven to 350 degrees. Grease two full sized loaf pans.
2. In a large bowl, cream butter and sugar. Add in the eggs, mashed bananas, sour cream, vanilla and cinnamon and combine.
3. Mix in salt, baking soda, and flour just until combined. Mix in nutella.
4.Divide batter into prepared pans and bake for 35-45minutes, until a toothpick inserted in center comes out clean.

Tuesday, September 6, 2011

Nuts for Nuts!


I recently saw a photo of some homemade glazed nuts on Pinterest, my new favorite website, have I mentioned that already?  These aren't just any nuts but crockpot nuts, another favorite of mine, the crockpot.  Are we seeing a pattern here?

With all the ingredients on hand, a rainy night and the feel for some cozy goodness told me this was the night to make these.

Ingredients:

16 ounces pecans or walnuts
1/2 cup melted butter
1 1/2 teaspoon cinnamon
1/4 teaspoon ground cloves
1/4 teaspoon ginger
1/2 cup powdered sugar

Put crockpot on high and heat for atleast 15 minutes.  After the 15 minutes add the melted butter, spices and nuts.  Stir well.  Cover and heat for 10 minutes.  Add powdered sugar and stir well.  Cover and cook another 10 minutes.  Then remove the lid and turn crockpot to low.  Cook for the next 2 to 3 hours stirring often with the lid OFF.  Spoon nuts out onto a sheet of parchment to cool.

Sunday, September 4, 2011

Disney Countdown

First off I want to say I know it has been a while.  I have been crafting but not blogging about my projects. With the kids starting school this week I should find more time to work on that.

I have been receiving personal requests for different projects.  Most recently I was asked by a fellow member of my mom's group to create some sort of countdown to Disney calendar.  I had never made one before, but I knew it was something I could do.  So without hesitation I took on the challenge and went full steam ahead.  With a little internet search and a browse on my new favorite website, Pinterest, I came up with some rough ideas.

It was only a matter of finding some quiet time to put ideas into reality.  With some fun paper, bright cardstock, ribbon and my cricut expression I was able to put together a cool countdown calendar that any child would look forward to ripping off the next number as there vacation got closer.


Monday, August 15, 2011

Etsy


I have been out of the loop for a while.  The end of July, beginning of August I was wrapping things up at work... FOREVER!  I am moving onto a new phase and I am excited.

I have been working on some new projects to add to my Etsy shop.  I started a Etsy shop late last year, and I had my Mickey autograph albums.  Little by little I have added some more products.


Next I will be tackling the attic and getting my crafting space in order.  Right now it looks as if, as my husband says "Terrorists have been in the attic."  Maybe even an hour a day will make a difference.

Monday, July 11, 2011

Crafting With Friends


This past Saturday myself and Donna put on another crop, we call ourselves "Creative Cuts".  Donna came up with the catchy name last year.  One of my biggest dilemmas when attending a crop is what to bring.  I never have gotten this down to a science, I always bring too much.  Some stuff I end up never opening the bag, you would think I would learn.

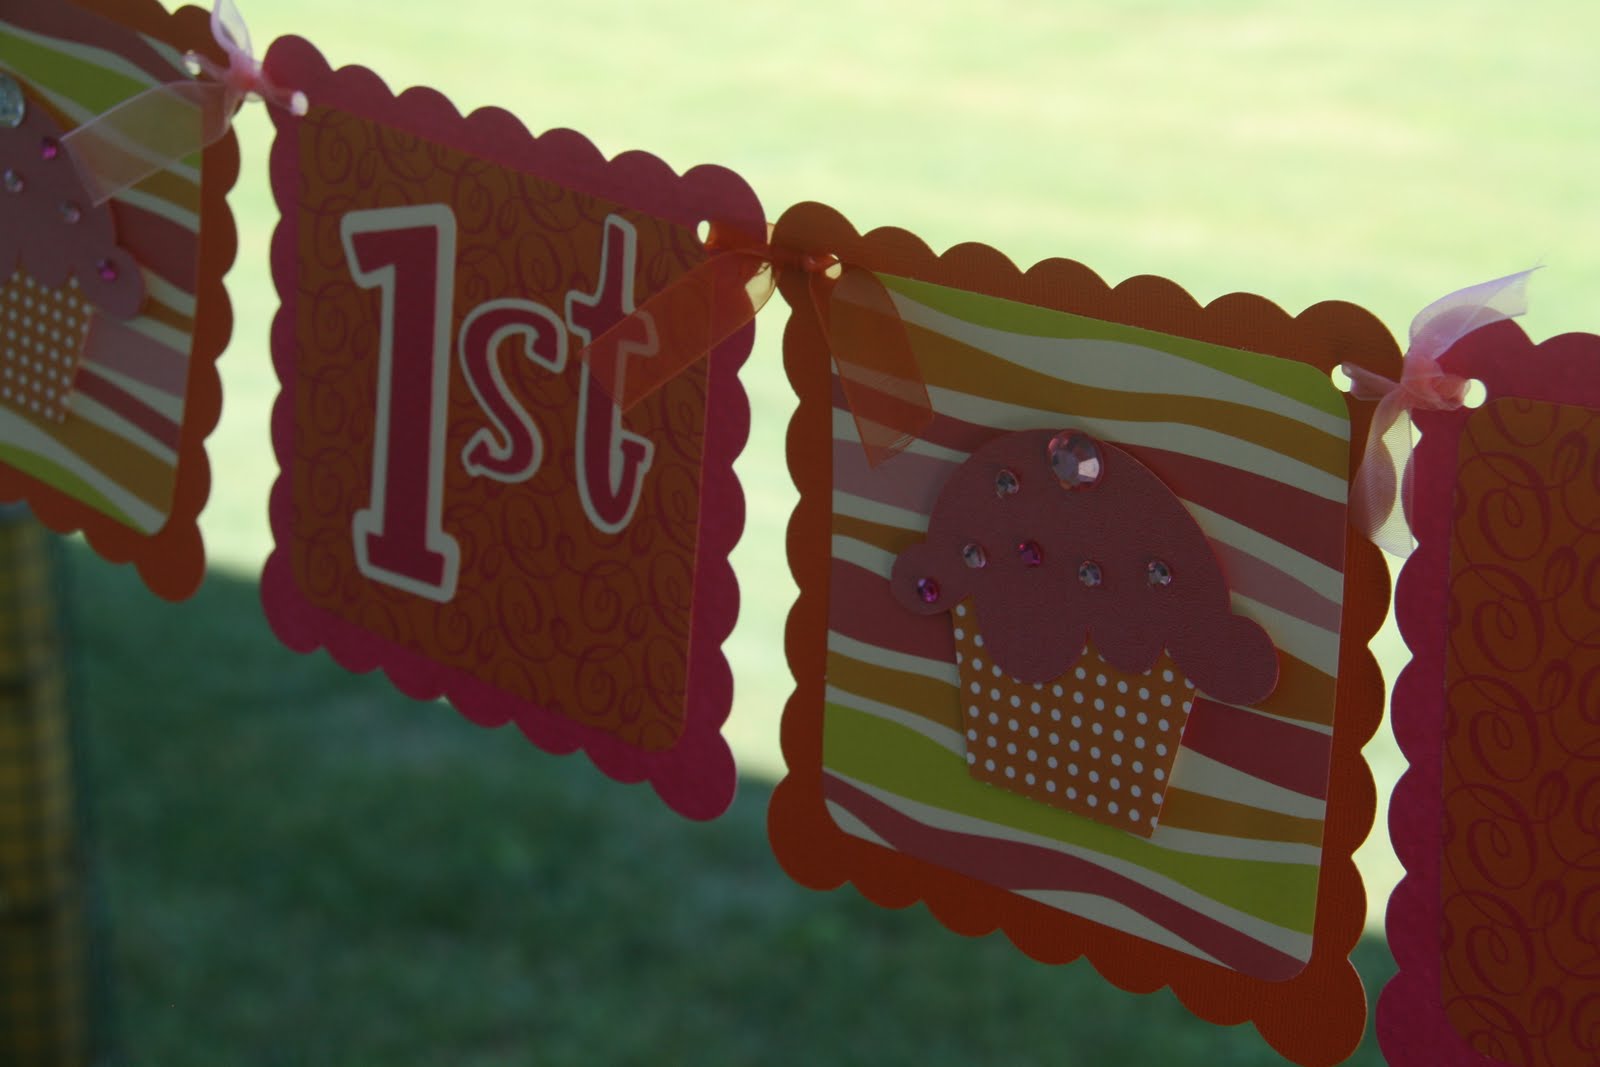
I aim to have a plan, this time around I knew I would be working on a banner for Donna's daughters first birthday.  She had picked out some great pink and orange paper she wanted to use.  Between the set up and just greeting everyone I don't think I actually sat down at my seat until 11:30, meanwhile I was there since 8:30 to get ready but that is a whole other story.

I asked Donna lots of questions about what her expectations were because well after all this was for a special occasion.  She wanted the borders to be scalloped, I love that too.  I had a little panic at first though because I couldn't find the scalloped square on the Cricut, shout-out to Heidi for locating it and making me feel better.  Phew.

Once everything was cut out, assembly began.  One of the final decisions was to bling or not to bling.  Bling it was and I am so happy with how it came out.


Monday, July 4, 2011

Happy 4th of July Cake


I originally saw this cake over at Crafty Mama, I love the look of it but did not love the recipe.  I am all for baking from scratch, but I really felt a cake mix would do in this case.  This cake was more about the look for me at least.

I used two cake mixes for all the layers.  In each of the two 8 inch cake pans I would pour 1 cup of cake batter in, and bake them two at a time as all I own is two 8 inch pans.  The layers still came out a little thicker than I had planned.


The blue layer was made with 2 cups of batter as it had to be the thickness of 2 red layers.  If you follow the directions from Crafty Mama, you will cut a circle out of a piece of parchment or wax paper for the top layer.  Well I guess you can say I cheated, or made this step a little easier.  I used a large biscuit cutter to cut the center out of the blue layer, and then cut the center of a red layer to fill in the blue layer.  Okay did I confuse you yet?

Well the cake was a really tall layer cake and I really didn't think it would survive the icing part, it tilted from side to side and I did panic a little bit.  The cake at least made it to the table and I was able to cut a few slices before it took a mysterious nose dive off the plate when I turned my back.